How to Make a Pop-Up Chick Card
Follow these steps to learn how to make a pop-up chick card. This cheerful little card is the perfect handmade creation for the Easter holidays. It is colourful, fun, and full of springtime charm. Whether you’re crafting with kids or creating a special gift to send to a loved one, this template is for you.
The instructions for how to make a pop-up chick card are really simple and easy to follow, and you only need a few basic materials. We have created two versions of the pop-up chick card. If you want to create a pop-up Easter card, you should print the seasonal version that includes a HAPPY EASTER message. Alternatively, print the plain version and when you’re finished, feel free to write your own message!

Materials you will need
A single A4 sheet of roughly 200gsm card
Scissors, or a scalpel and ruler
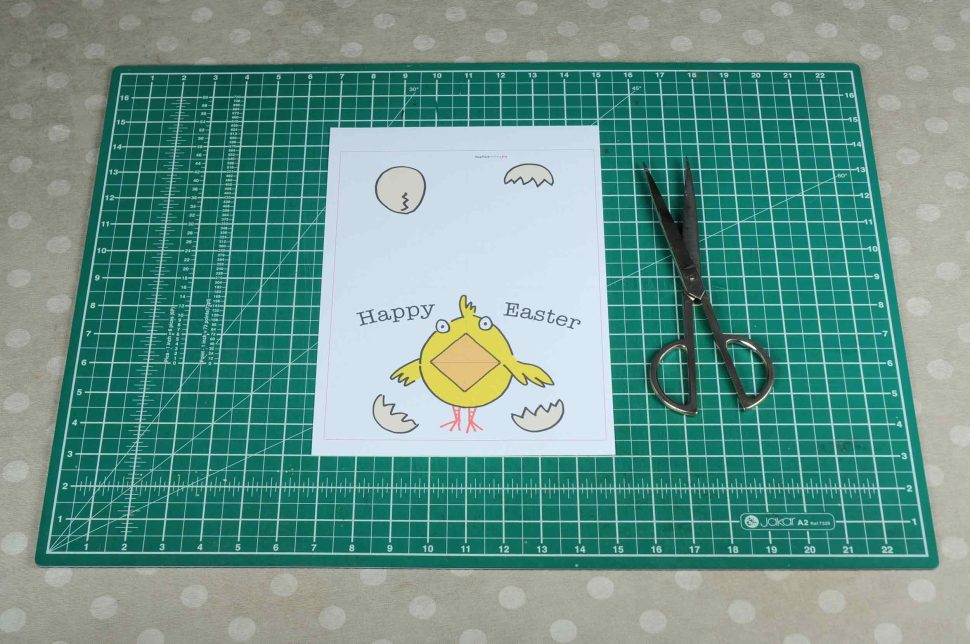
1. Print
Print off the template on A4 card. 200gsm or similar will work best!
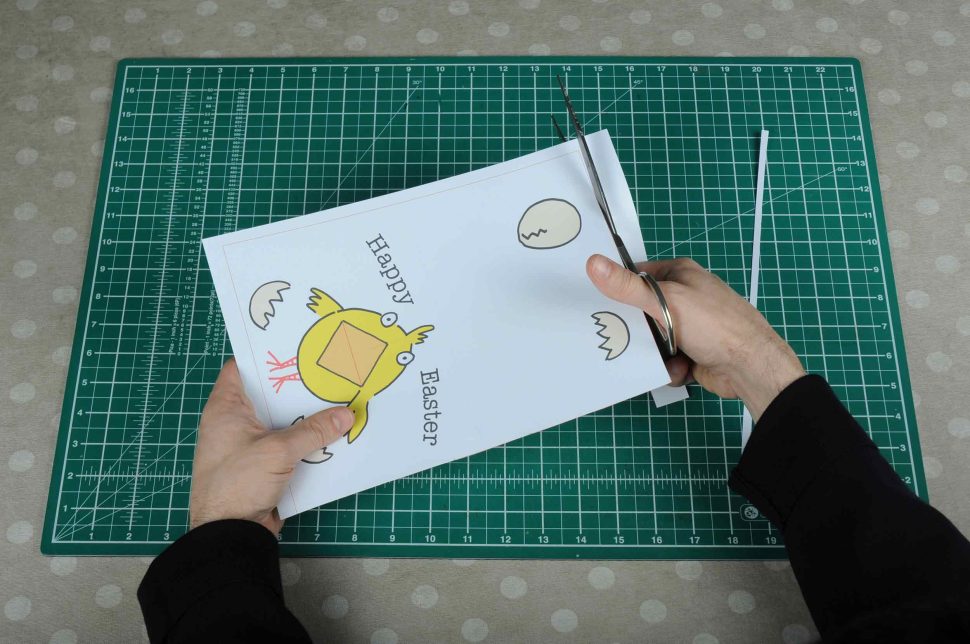
2. Cut
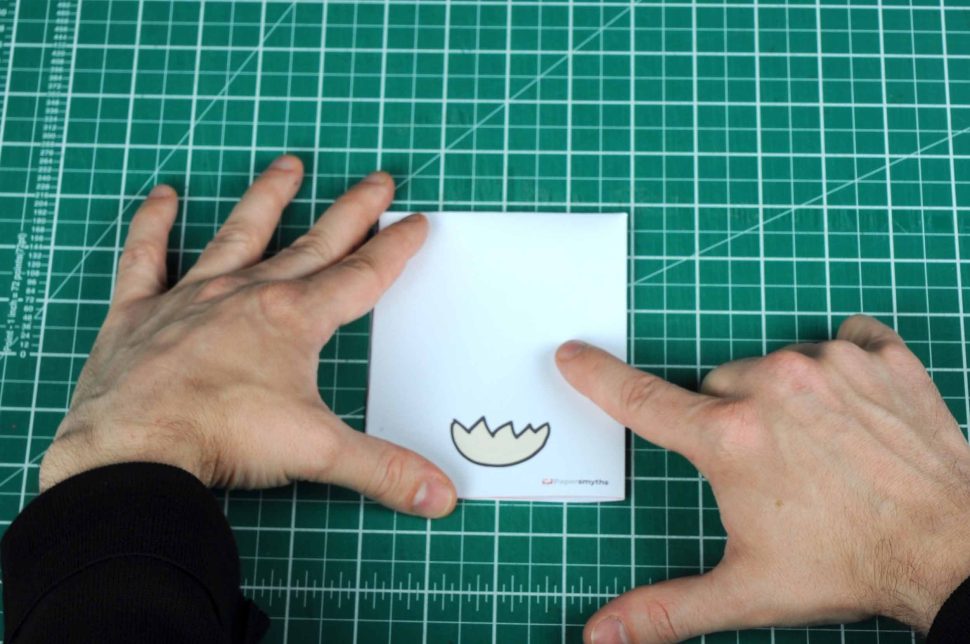
Cut along the outer red line.
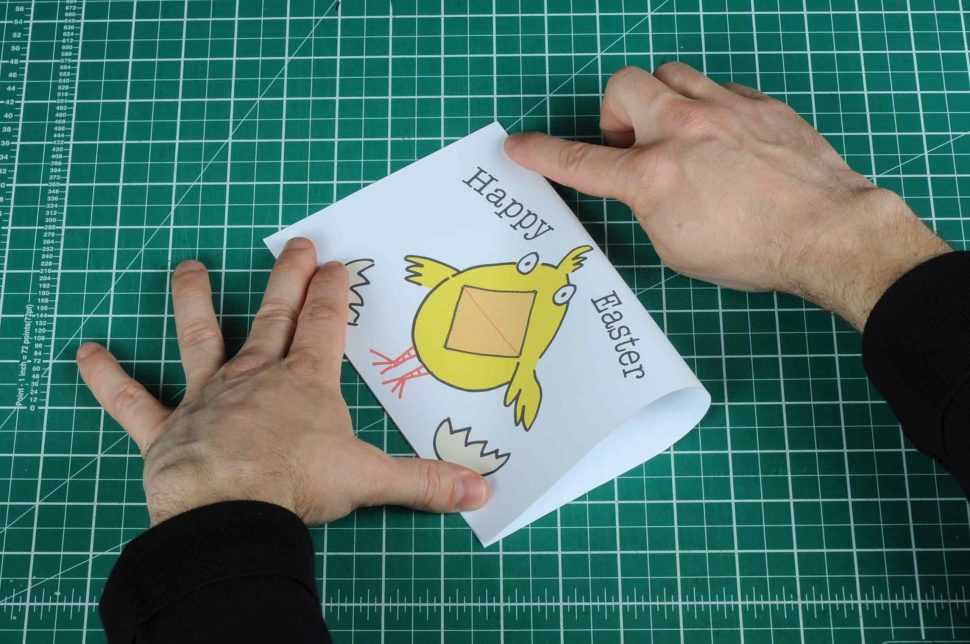
3. Horizontal Fold
Fold the page in half by lining up the bottom edge and corners.
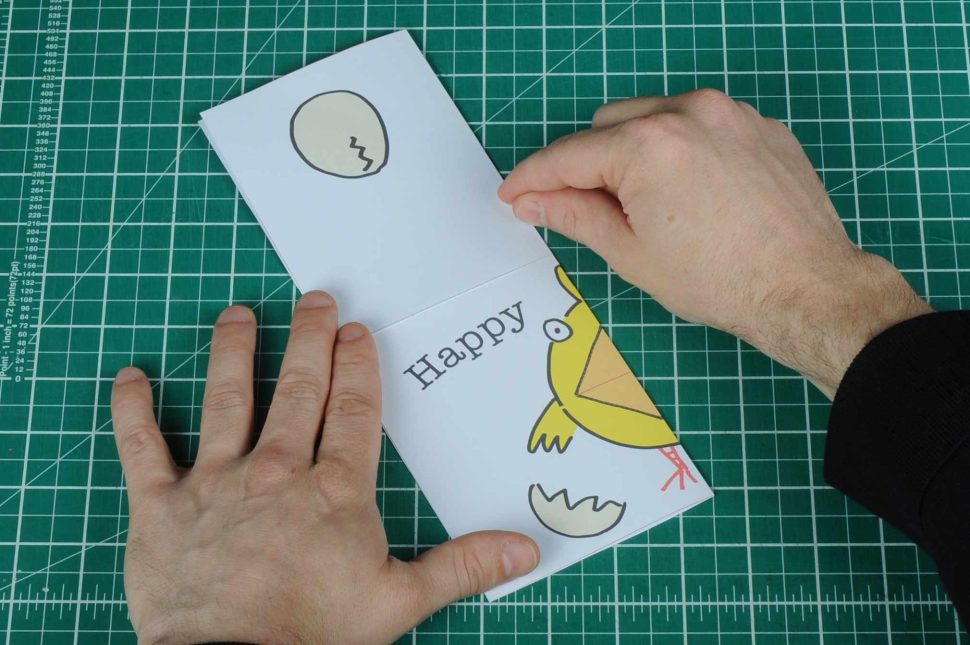
4. Vertical Fold
Now fold the page in half vertically along the dotted line.
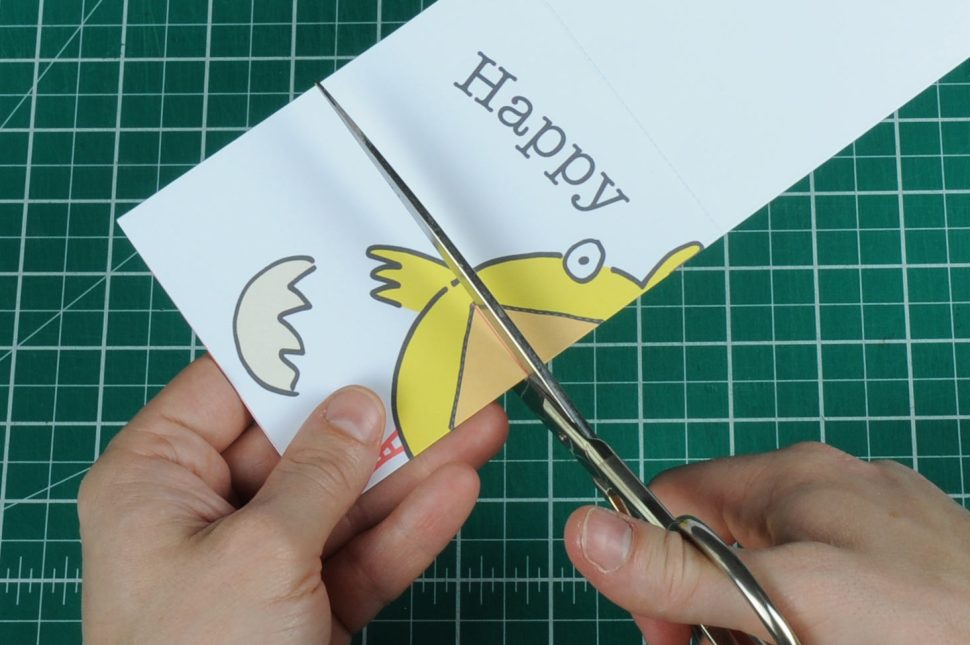
5. Cut the Beak
Cut the beak along the solid red line. Be careful not to cut too far!
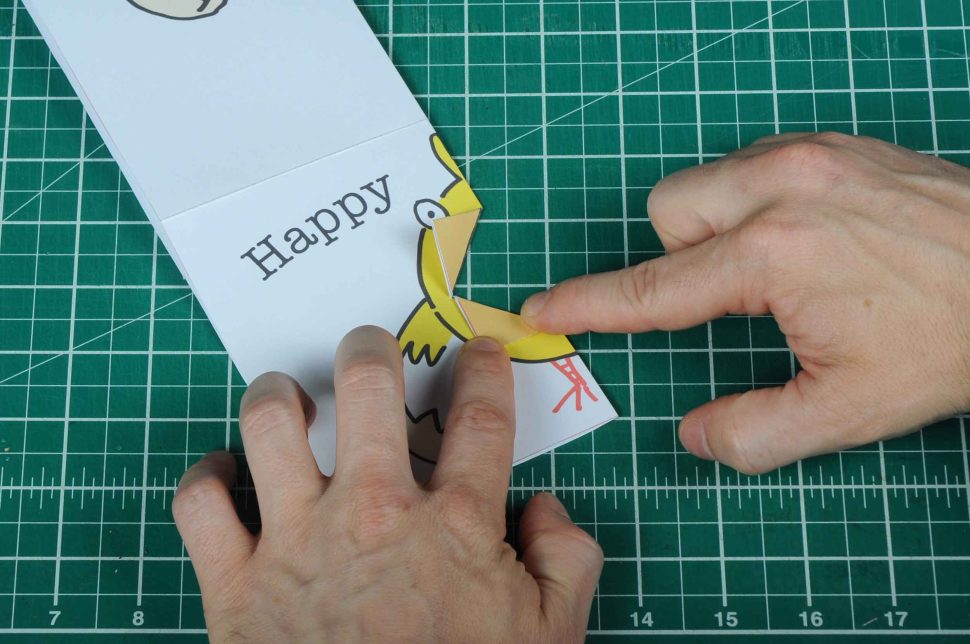
6. Fold Beak
Crease the two ‘triangles’ of the beak along the dotted line. Turn the page over and crease them the other way as well.
7. Reverse the Beak
Half close the card and ensure the beak remains in its outward position. Press gently but firmly along the back of the card to help crease the beak into place. This will ensure it pops out nicely when opened.
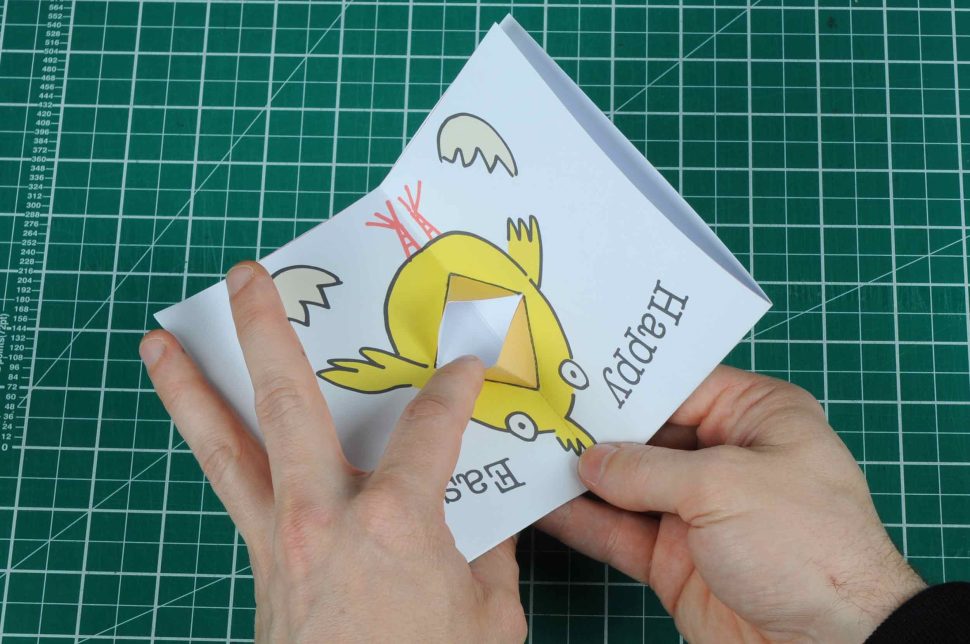
7. Final Crease
Make a final crease on the back of the card to fix everything in place.
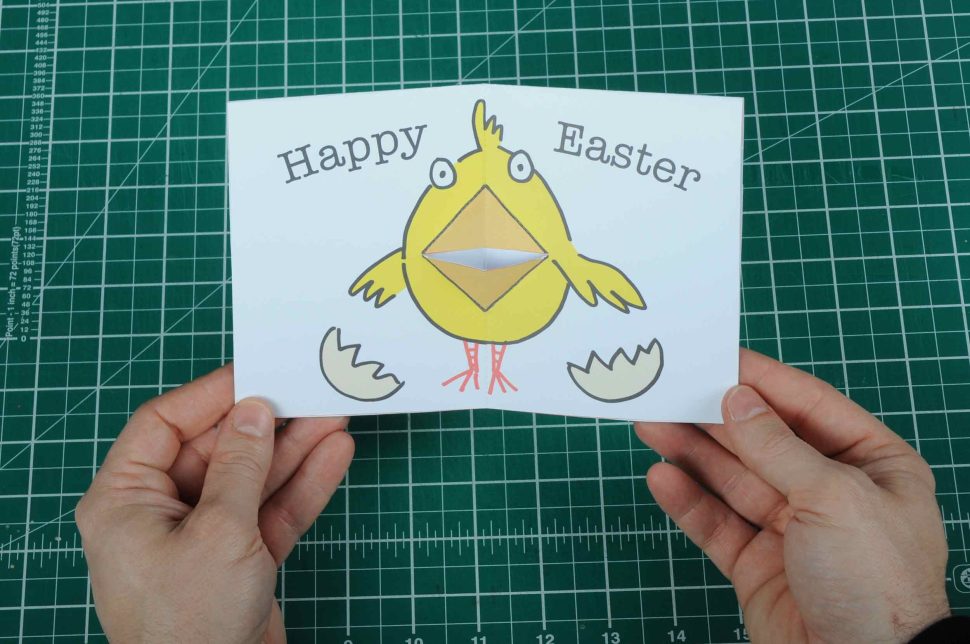
7. Finished!
You’re finished! If you want, you can use double-sided tape or glue to stick the inside of the card together.